![pdfforge_fav-2.png]](https://support.pdfforge.org/hs-fs/hubfs/pdfforge_fav-2.png?height=40&name=pdfforge_fav-2.png)
How Actions Work
Actions in PDFCreator are grouped into three stages, and PDFCreator runs them in this order:
- Preparation : actions that run before conversion (for example, running a custom script)
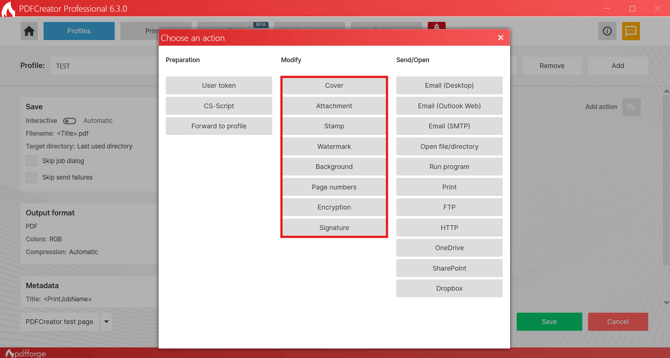
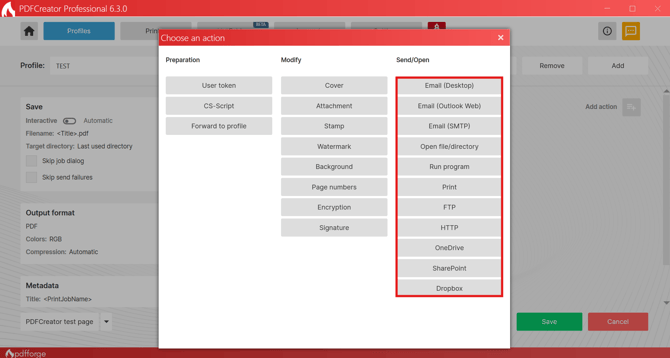
- Modify : actions that change the resulting PDF (Cover, Attachment, Stamp, Background, Watermark, Page Numbers, Encryption, Signature)
- Send : actions that decide what happens to the finished file (Save, Email, Print, FTP upload, and more)
You can add multiple actions within each stage, and PDFCreator executes them in the order you set. Some actions, like Encryption , have a fixed position relative to others, so PDFCreator won't let you drag them into an invalid spot.
1. Plan the Chain Before You Build It
Sketch out what should happen to a document, in order. For example, a client delivery workflow might look like:
- Add a Cover page (company letterhead)
- Add a Stamp ("Draft" or "Approved")
- Apply Encryption (password protect the PDF)
- Save the file
- Email a copy to the client
Planning this out first makes the Workflow Editor much faster to use, since you're not guessing at ordering as you go.
2. Create a Dedicated Profile
- Open PDFCreator and go to Profiles.
- Click Add to create a new profile rather than editing your default profile. A dedicated profile is easier to maintain and troubleshoot later.
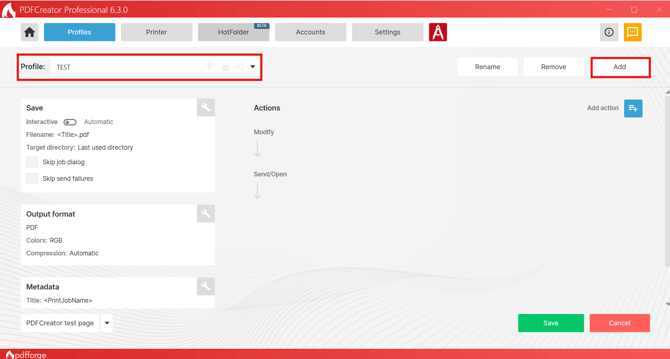
- Give it a clear, descriptive name, such as "Client Delivery" or "HR Department"
3. Add Your Preparation Actions
- Open the Actions section of your profile.
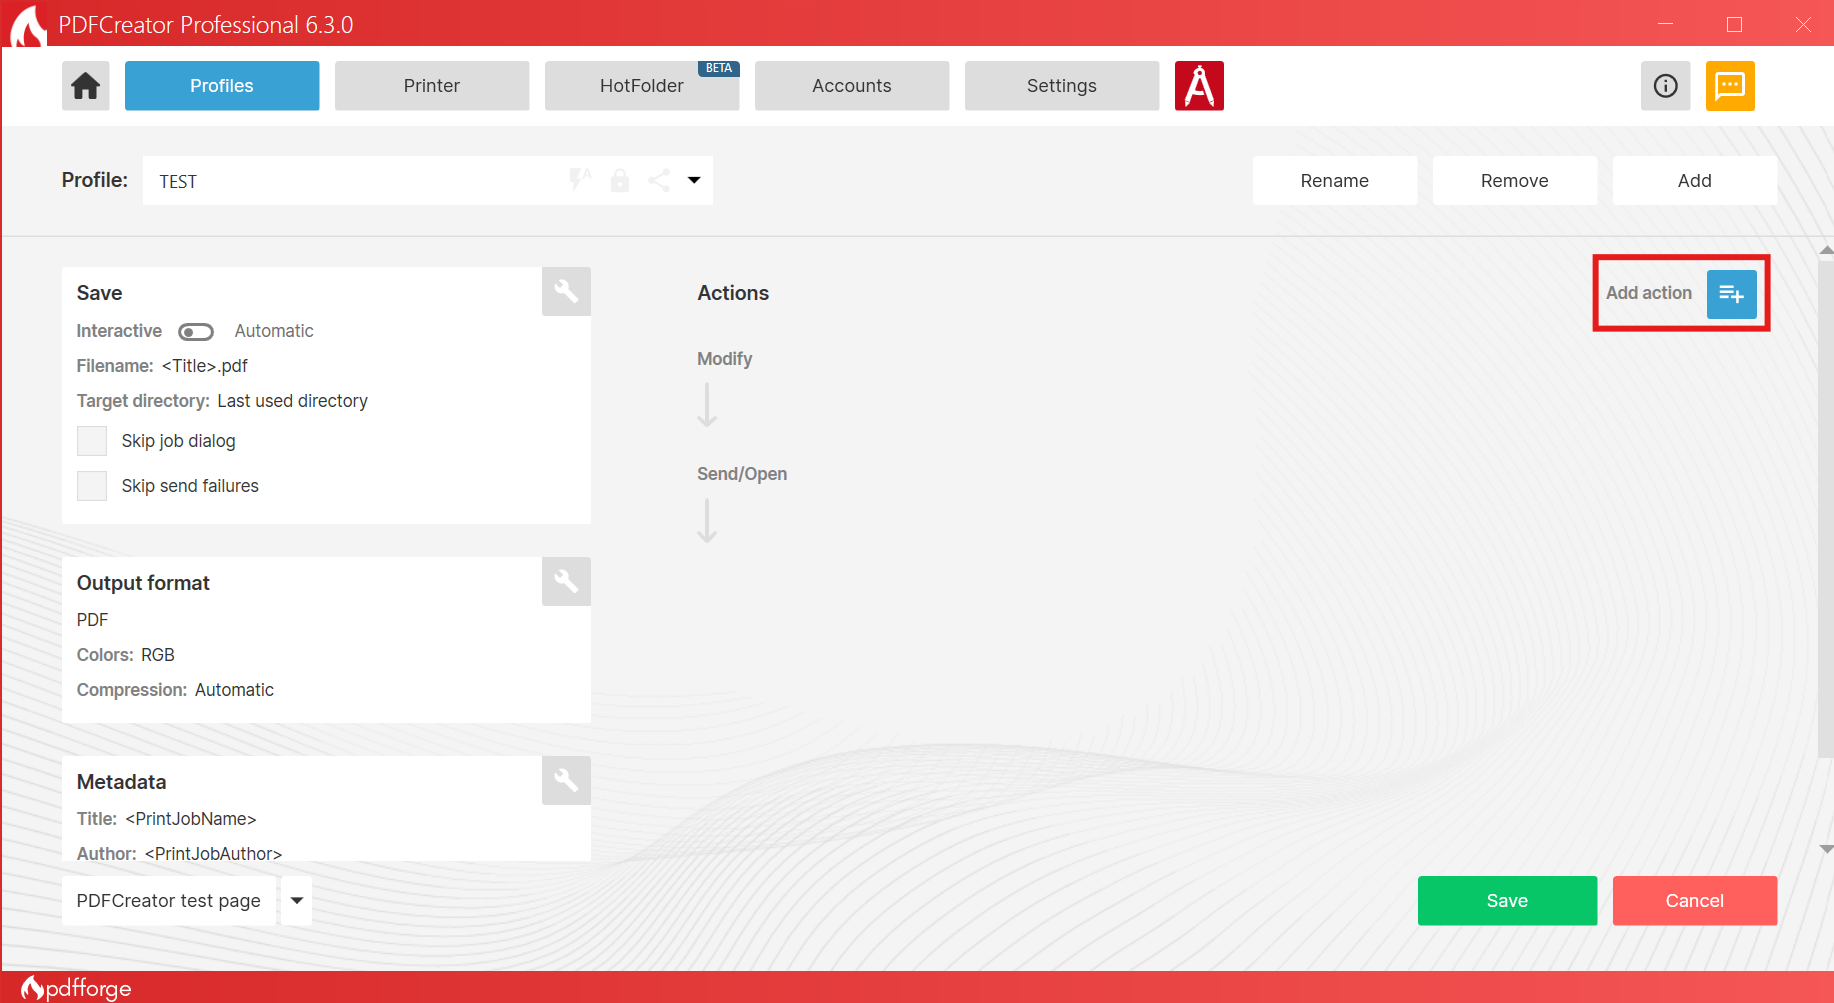
- Click Add Action. If you need something to happen before conversion (such as a custom script), add it here , it will land in the Preparation stage automatically.
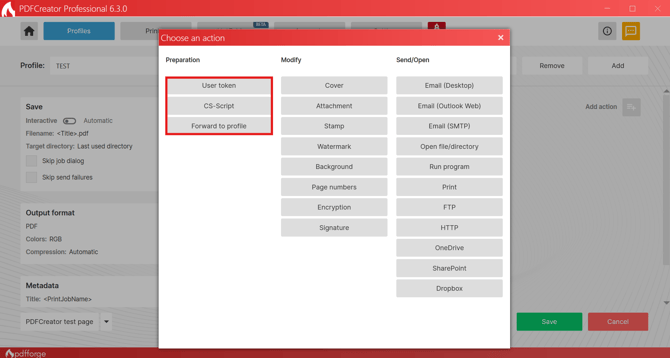
- Most everyday workflows can skip this stage entirely.
4. Add Your Modify Actions
- Click Add Action again and select each Modify action you planned. For example, Cover, Stamp, and Encryption.
- Each one appears as a grey box in the Modify stage.
- Drag the boxes on the profile page to set the order they should run in. Remember that ordering controls what gets affected by what; for example, if you want a stamp to appear on your cover page too, the Stamp action needs to come after Cover.
- Click on each action to configure it: add your cover file, set the stamp text and position, set an encryption password, and so on.
5. Add Your Send Actions
- Click Add Action once more and choose what should happen to the finished PDF.
- You can add more than one Send action; for example, Print and Email in the same profile.
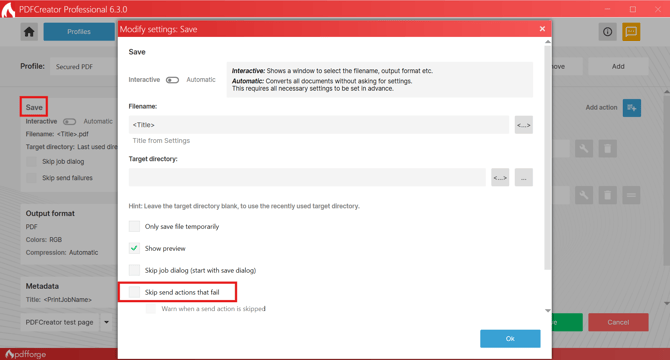
- If you add multiple Send actions, you can decide whether the profile should continue running the remaining ones if one of them fails, this option is available in the action's settings.
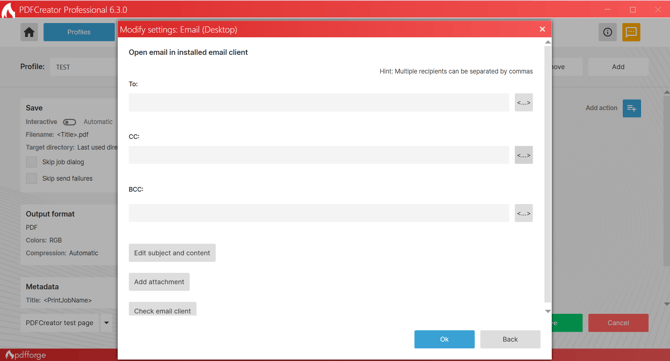
- Configure each Send action (target filename, email recipients and subject, printer selection, etc.).
6. Save and Review the Full Chain
- Once all your actions are added and configured, click Save in the bottom right corner of the Profiles window.
- Scroll through the full chain one more time, then Send to confirm the order.
7. Test the Workflow
- Use the Test Page button in Profiles, or print any real document through the PDFCreator virtual printer using this profile.
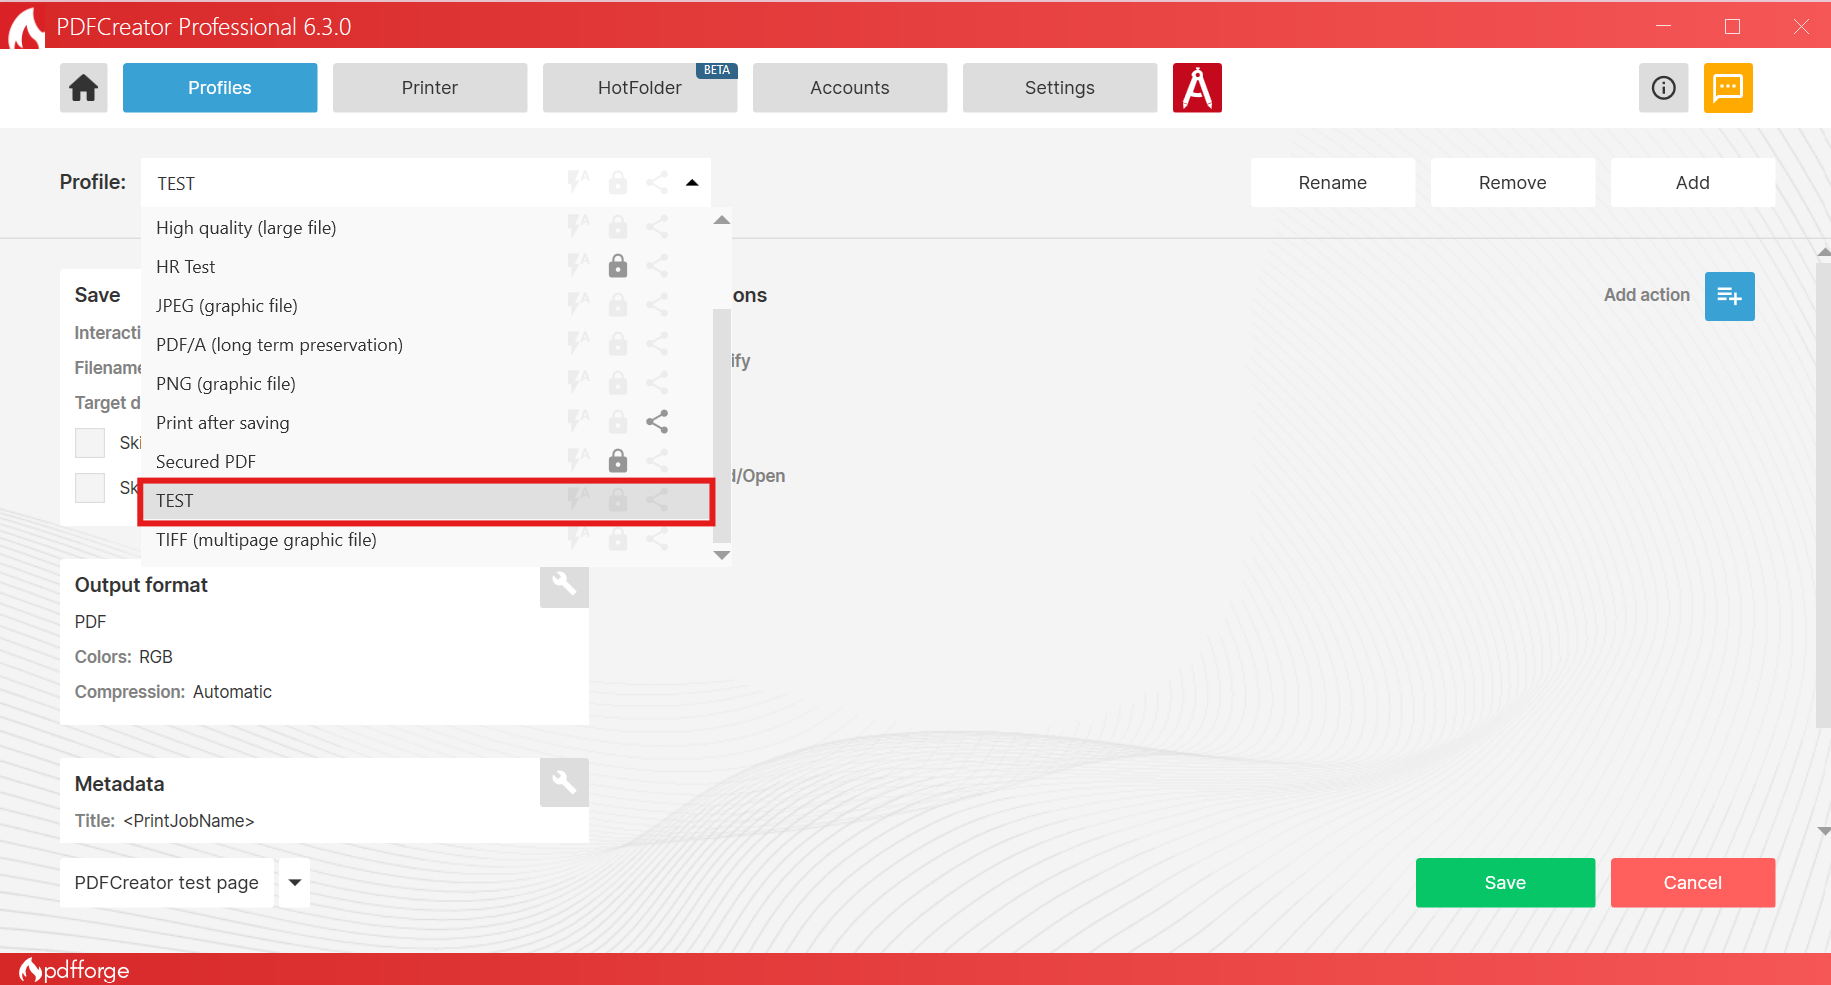
- Confirm the cover appears, the stamp shows up in the right place, the file is encrypted, it saved to the right location, and any email or print action fired correctly.
- If something's missing or in the wrong place, go back to the Workflow Editor and adjust the action order or configuration only.
You can now run any document through this profile and it will move through the entire chain automatically, from preparation through to final delivery.