![pdfforge_fav-2.png]](https://support.pdfforge.org/hs-fs/hubfs/pdfforge_fav-2.png?height=40&name=pdfforge_fav-2.png)
Setting Up a Cover Page
A Cover action inserts one or more existing PDF pages in front of the document you're converting.
Prerequisites
- The file you want to use as a cover must already be saved as a PDF (not Word, image, etc.)
- You need an existing PDFCreator profile to add the action to (the Default profile works fine to start)
Steps
- Open PDFCreator and go to Profiles.
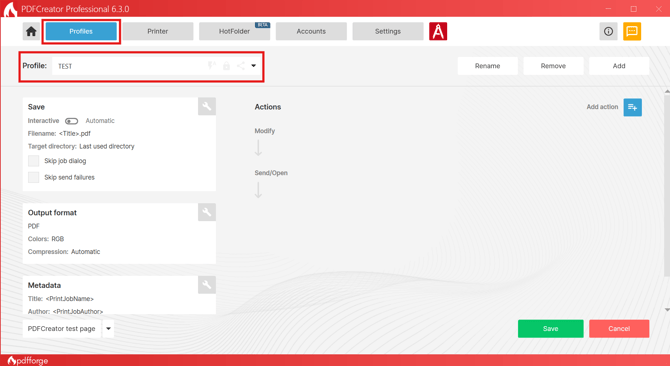
- Select the profile you want to edit from the list on the left (or create a new one).
- Open the Actions section for that profile.
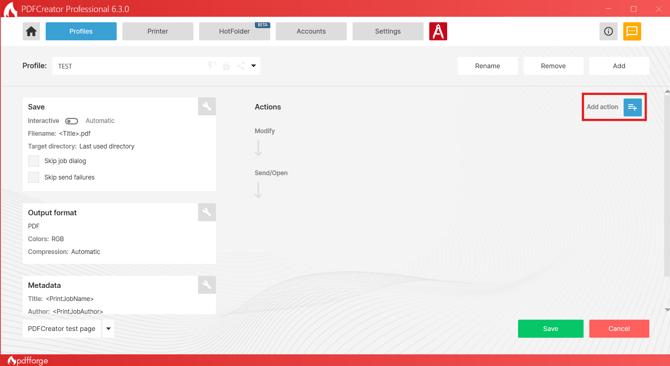
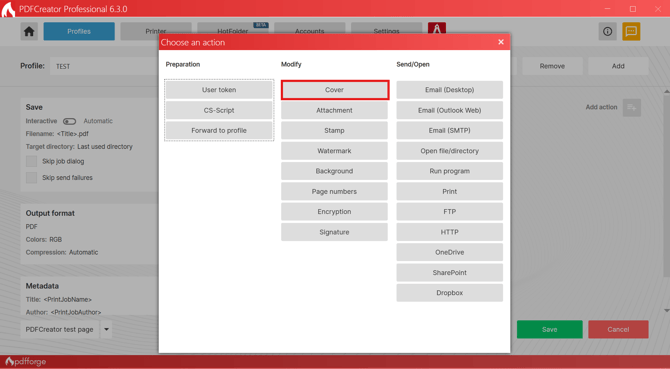
- Under the Modify stage, find Cover and enable/add it to the workflow.
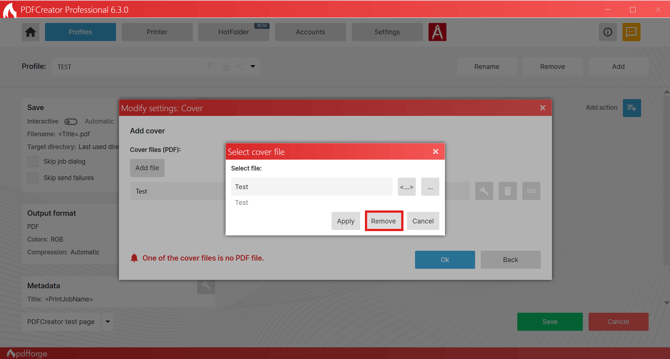
- Click Add File. An overlay window will open.
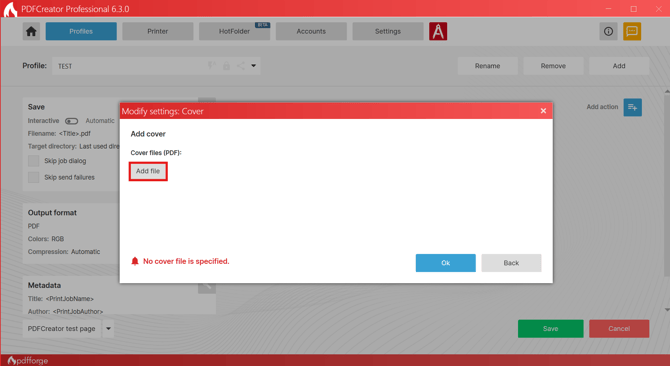
- Browse to and select your cover PDF, then confirm.
- You can add multiple cover files , they'll be inserted in the order you add them, and each may contain multiple pages.
- To review or remove a file later, click the tool Icon showing the file you added , the overlay reopens with a Remove option.
- Click Save in the bottom right corner to save the profile.
- Test it: use the Test Page button in Profiles, or print any document through the PDFCreator virtual printer using this profile, and confirm your cover page appears first.
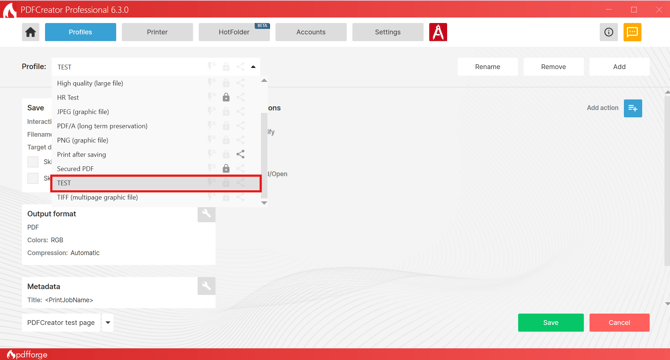
You can now start printing all your documents through this profile, and each one will automatically get this cover page attached.
Tip
If you want that a Background, Watermark or Stamp is added to the cover pages, place the other action in the action order after the cover action (see Actions (Workflow Editor)) - else put the cover action in front.